Overview
Install RDBMS 11.2.0.1 base software only after Grid Infrastructure 11.2.0.3.3 had been installed.
Prerequisites
The Database software is unzipped into
~/db_110201
.
Procedure
                     cd ~/db_110201/database


                     ./runInstaller
Step1: Configure Security Updates
The following screen appears:

Even though I enter the correct details for My Oracle Support, I get the following screen:

I think the response time from the web site is too slow for the Installer. It thinks that a firewall is blocking the connection.
So, I click Cancel and erase My Oracle Support details, and click Next . And the following confirmation screen appears:

Click Yes .
Step 2: Installation Option
The next screen is changed to Install database software only as follows:
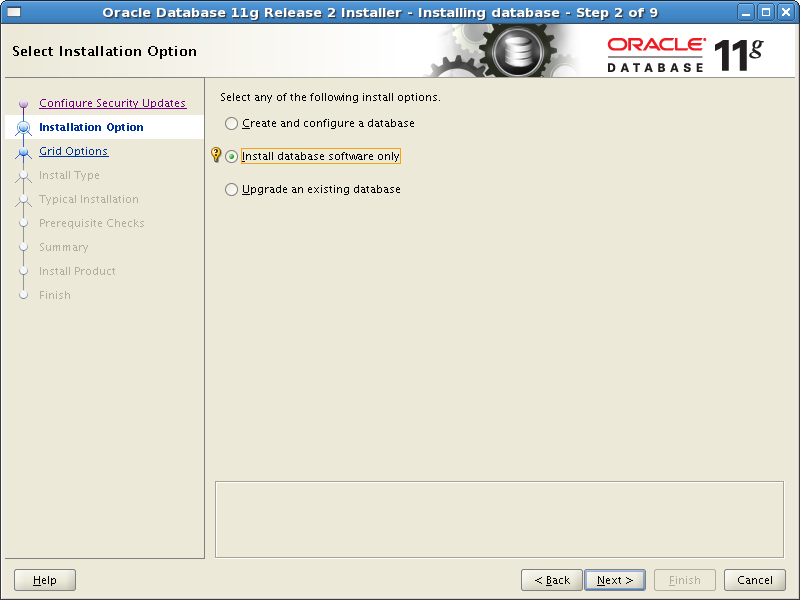
Click Next .
Step 3: Grid Options
The following screen is left unchanged:
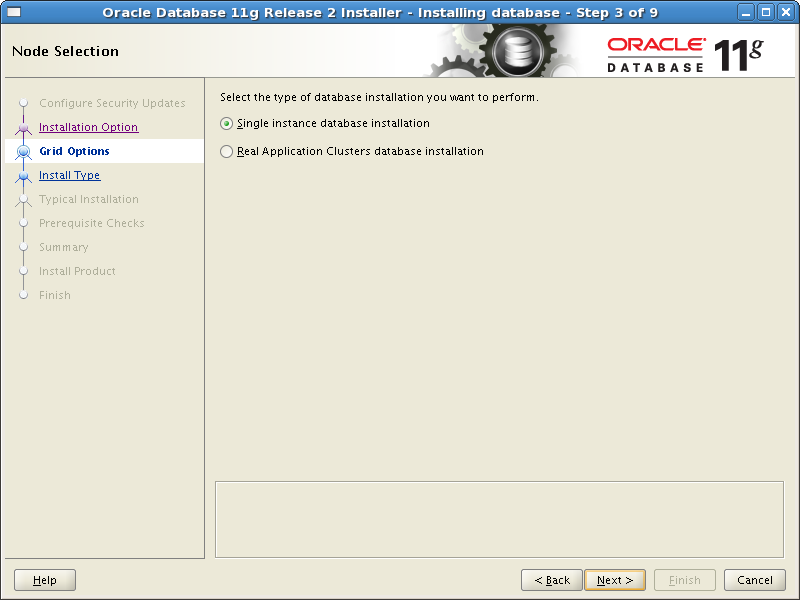
Click Next to continue.
Step 4: Product Languages
The following screen is left unchanged:
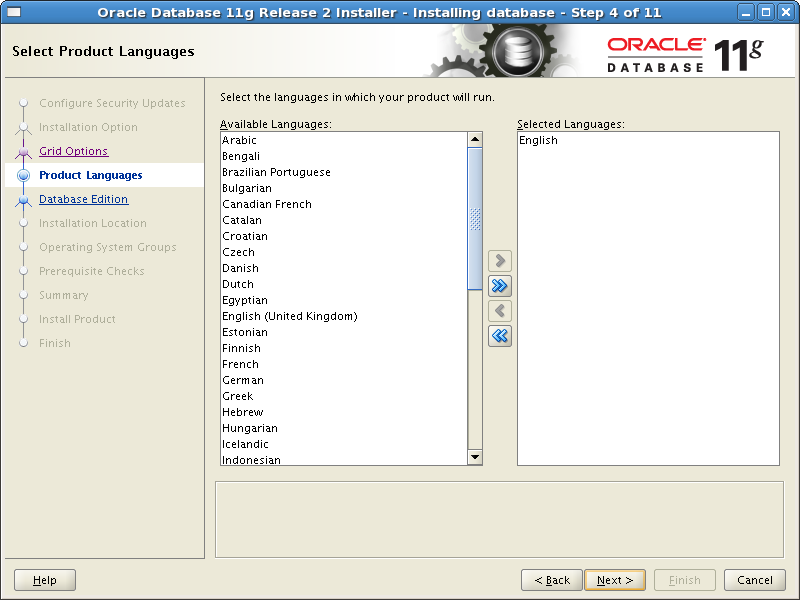
Click Next to continue.
Step 5: Database Edition
The following screen is left unchanged:
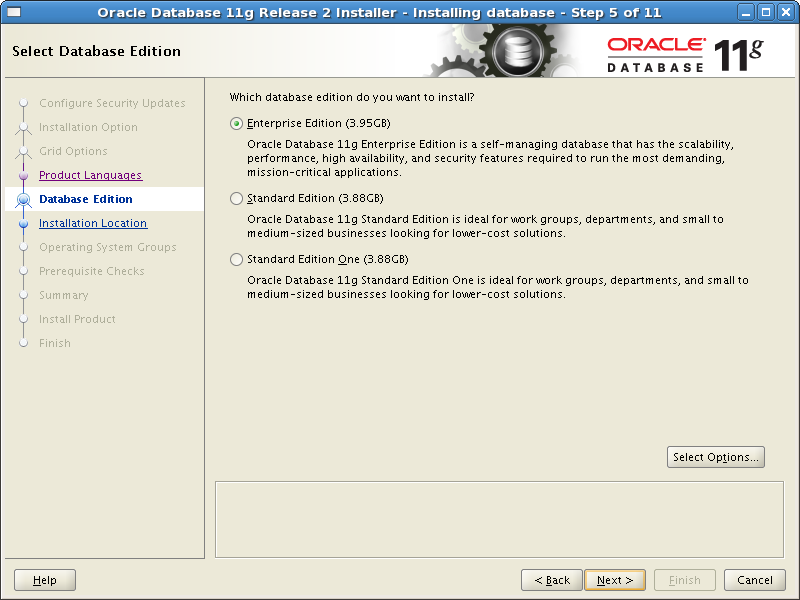
Click Next to continue.
Step 6: Installation Location
The following screen is left unchanged:
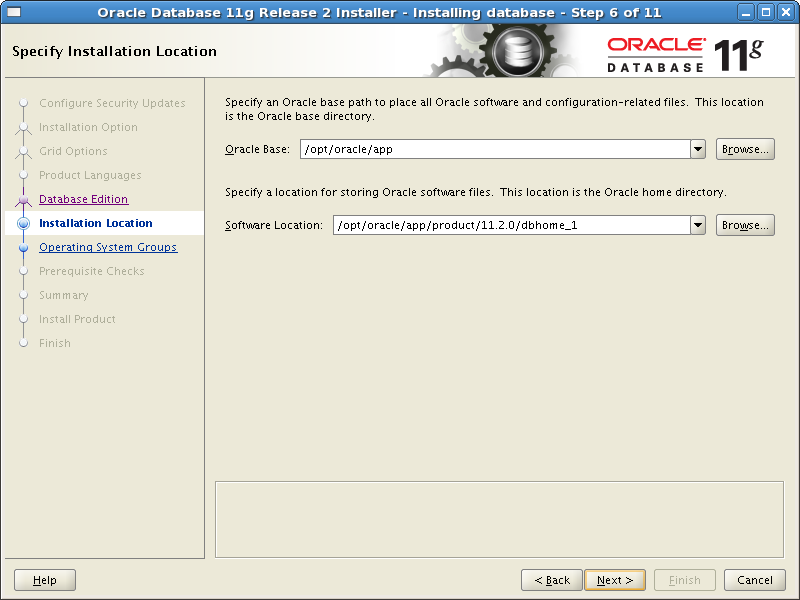
Click Next to continue.
Step 7: Operating System Groups
The following screen is left unchanged:
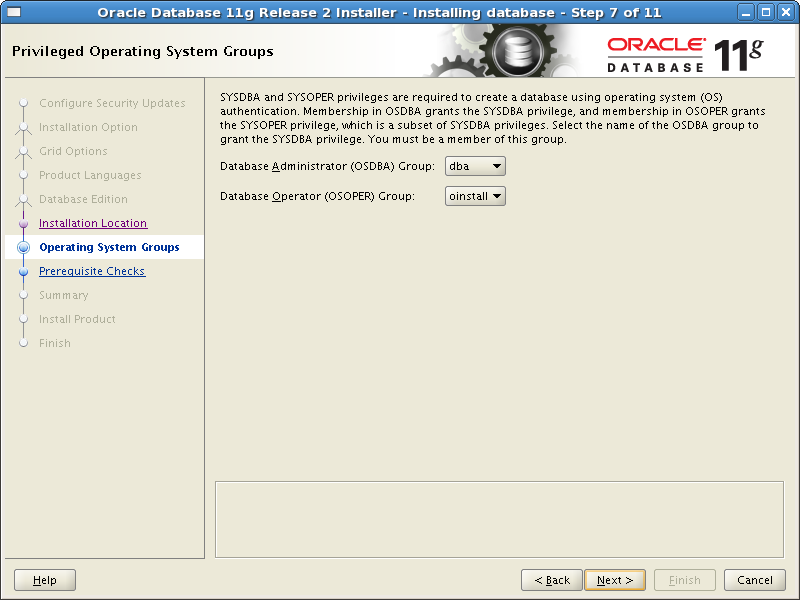
Click Next to continue.
Step 8: Prerequisite Checks
The following screen appears:
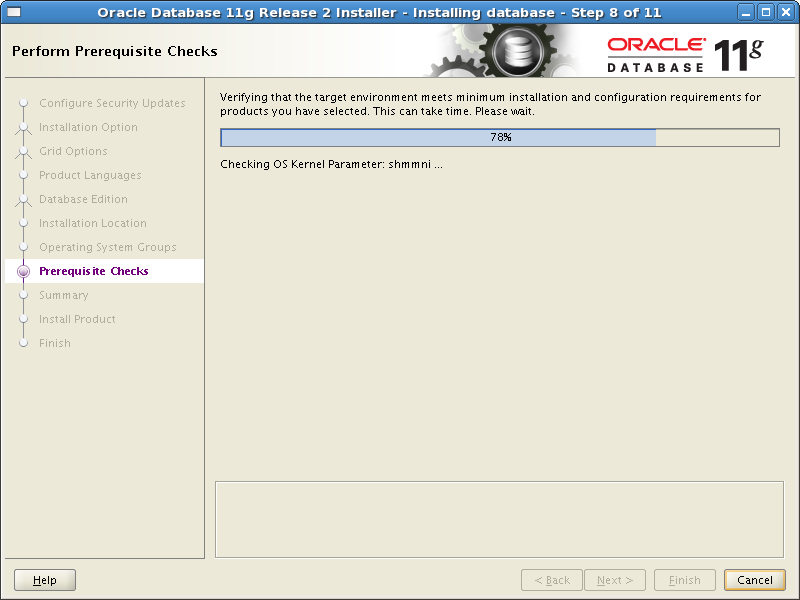
As there are no issues, the next screen automatically appears.
Note: During an earlier attempt, I found I needed the following packages to be installed:
-
unicODBC
-
unicODBC-devl
I used the procedure outlined in Install unixODBC Packages Under RHEL 5.4 to fix this.
Step 9: Summary
The following screen appears:

Click Finish to continue.
Step 10: Install Product
The following screen appears:

Click Next to continue.
After a while, the following screen appears:
I run the following commands:
                     sudo su -


                     /opt/oracle/app/product/11.2.0/dbhome_1/root.sh
The log is:
Running Oracle 11g root.sh script...

The following environment variables are set as:
    ORACLE_OWNER= oracle
    ORACLE_HOME=  /opt/oracle/app/product/11.2.0/dbhome_1

Enter the full pathname of the local bin directory: [/usr/local/bin]:
The file "dbhome" already exists in /usr/local/bin.  Overwrite it? (y/n)
[n]: y
   Copying dbhome to /usr/local/bin ...
The file "oraenv" already exists in /usr/local/bin.  Overwrite it? (y/n)
[n]: y
   Copying oraenv to /usr/local/bin ...
The file "coraenv" already exists in /usr/local/bin.  Overwrite it? (y/n)
[n]: y
   Copying coraenv to /usr/local/bin ...

Entries will be added to the /etc/oratab file as needed by
Database Configuration Assistant when a database is created
Finished running generic part of root.sh script.
Now product-specific root actions will be performed.
Finished product-specific root actions.
Click OK .
Step 11: Finish
The following screen appears:

Click Close to exit the installer.